How to Choose the Best MAG Welding Machine in 2026
Choosing a Mag Welding Machine in 2026 means matching equipment to the welds your workshop actually produces. Specifications alone are insufficient. The American Welding Society’s 2024 workforce projections estimated that 330,000 new welding professionals would be needed by 2028. That makes straightforward setup, repeatable parameters, and manageable training requirements practical purchasing considerations, particularly for workshops already struggling to recruit experienced welders. Meanwhile, the International Federation of Robotics reported 541,302 industrial robot installations worldwide in 2023 in its World Robotics 2024 report. This broader automation trend makes integration worth considering, although it does not prove every workshop needs robotic welding.
Details matter. For MAG welding, active shielding gases, such as carbon dioxide or argon-based mixtures, affect penetration, spatter, and operating costs. A workshop joining 2 mm steel panels needs different capabilities from one producing 12 mm structural fabrications. Thin sheet demands stable performance at low settings. Thicker sections require sufficient output, suitable joint preparation, and a realistic assessment of production speed. Check duty cycle carefully. A 60% rating typically permits six minutes of welding within a ten-minute period under specified test conditions. Compare ratings at equivalent currents and ambient temperatures; otherwise, apparently similar machines may deliver very different performance during sustained production.
There is no universally perfect choice. Pulsed operation can improve control in suitable applications, but its value depends on materials, settings, and operator familiarity. Even a convincing demonstration deserves scrutiny. Clean sample plates rarely reproduce rusty edges, awkward access, or inconsistent fit-up. This guide examines power requirements, wire feeding, consumables, service support, and ownership costs to help you choose with fewer assumptions.
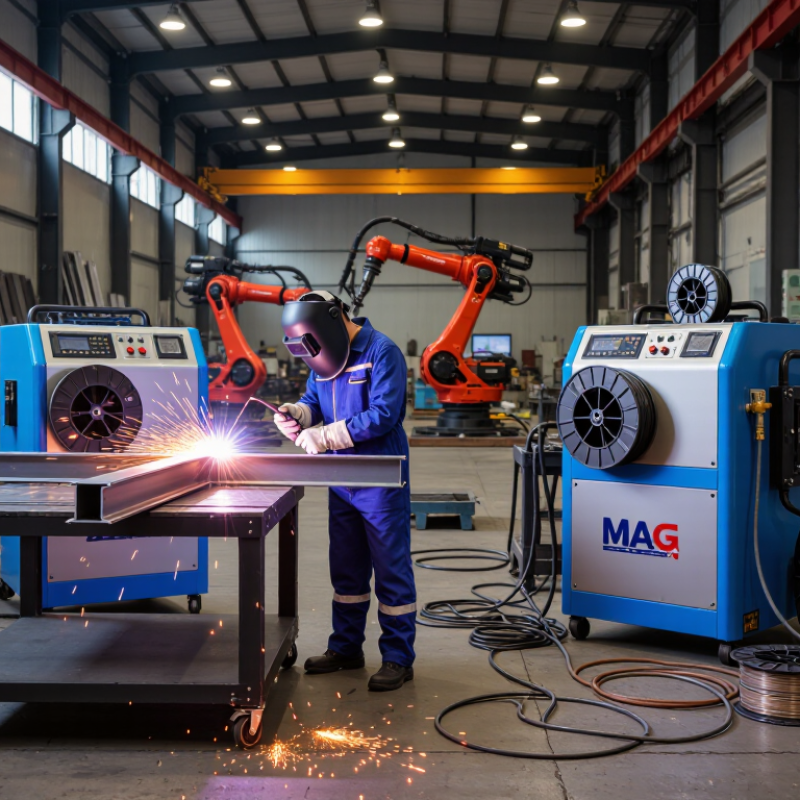
Understand MAG Welding Processes, Shielding Gases, and Machine Types
MAG welding uses a continuously fed wire and an active shielding gas, commonly carbon dioxide or an argon-rich mixture. The gas affects arc behavior, spatter, and weld appearance.
Pure carbon dioxide can provide strong penetration, but often creates more spatter. Argon-rich blends usually produce a smoother arc. Match the gas to the metal, wire, joint position, and procedure—not just the machine’s settings chart.
The transfer mode matters, too. Short-circuit transfer suits thinner material and lower heat input. Spray transfer runs hotter and generally needs suitable gas and enough power.
Pulsed operation can help control heat, but it may add cost and setup complexity. Check whether the machine supports the wire sizes and modes you actually use. More features do not automatically mean better welds.
Machine types range from simpler manual units to synergic inverters that coordinate wire speed and voltage. Inverter models are often lighter and offer finer adjustment; transformer machines may be simpler to service.
Look beyond headline amperage. Confirm input power, duty cycle, spool capacity, and torch compatibility. That matters. A machine rated for high output may still require pauses during long welds.
It is easy to overvalue display features and overlook the workshop’s power supply. I would compare machines using the same wire, gas, and test joint, then inspect bead shape and spatter. One imperfect test is still better than choosing by specifications alone.
Define Your Welding Needs by Material, Thickness, and Application
Start with the metal you will weld most often, not the machine’s maximum output. Carbon steel suits many MAG setups, but wire diameter and shielding-gas mix still affect transfer and spatter. Stainless steel needs a compatible wire and gas blend. If aluminum is on your job list, check the process carefully; it typically requires inert shielding gas rather than a MAG setup. Details matter.
Next, match output to material thickness and joint design. Thin sheet needs stable low-current control to limit burn-through, while thicker plate may require more amperage, multiple passes, or a suitable bevel. A machine’s rated output alone is not enough. Check its duty cycle at the current you expect to use, especially for repeated production welds. Short repair jobs and long workshop runs place different demands on equipment.
Consider where and how the machine will work. A fabrication bench may benefit from a separate wire feeder and space for a larger gas cylinder; mobile repairs call for easier transport and a practical power supply. Check wire-feed stability, available settings, and compatibility with your intended gas and wire. Before committing, test a sample joint using the actual material and thickness. A clean bead can still hide poor fusion, so inspect the root and adjust settings. I’ve found that real test pieces expose assumptions that a specification sheet cannot.
Match Amperage, Duty Cycle, and Power Supply to Your Work
Choosing a MAG welding machine starts with the metal, joint, and working position—not the largest amperage number on the panel. Thin sheet may need a stable low output to avoid burn-through, while thicker plate usually calls for more current and suitable wire diameter. Check the machine’s rated output against your actual materials. A range that looks impressive can still be awkward at the low end.
Duty cycle tells you how long a machine can weld within a ten-minute period at a stated output. For example, a 40% duty cycle at 200 amps allows four minutes of welding, followed by six minutes of cooling. That matters during long seams or repeated fabrication. Short tack welds are different. Don’t compare duty-cycle figures unless they use the same amperage and testing conditions; this detail is easy to overlook.
Match the power supply to the work area before buying. A machine designed for a standard single-phase outlet may suit light repairs, but high-output welding can require a suitable circuit and may exceed what a shared workshop supply can deliver. Check the input voltage, current demand, plug, and site capacity with a qualified electrician when needed. A practical setup also needs room for the machine’s cooling airflow. I would leave some margin rather than size everything to a perfect estimate; real jobs rarely stay perfect.
Evaluate Build Quality, Support, and Total Ownership Cost in 2026
When comparing MAG welding machines in 2026, inspect the parts that take daily wear. Check the wire feeder, drive rolls, torch connections, and ground clamp for sturdy construction and easy access. A loose feeder cover or awkward spool change can waste time on a busy shift. Check the basics. Ask to see the duty-cycle rating at the output you expect to use, not just the machine’s maximum setting. If possible, run a short weld with your usual wire and material. Listen for uneven feeding and watch for unstable starts. A polished display is useful, but it cannot prove long-term durability.
Support and ownership costs deserve equal attention. Ask how quickly common replacement parts can be supplied, where repairs are handled, and what the warranty excludes. Get answers in writing. Then estimate more than the purchase price: include wire, contact tips, liners, electricity, scheduled maintenance, and likely downtime. For a workshop, even a small delay can disrupt a job. Compare these costs over several years, using your expected hours rather than optimistic sales estimates. I would still leave room for uncertainty; real maintenance can be messier than a spreadsheet suggests. A cheaper unit may suit occasional use, while frequent production calls for dependable service and accessible parts.